
I made a separate thread in performance but am going to try and update this in the ongoing weeks as i progress with the build and document the smaller portions in more depth on this post from start to finish ( project started when i acquired the engine and trans from a 1975 corvette July 8th)

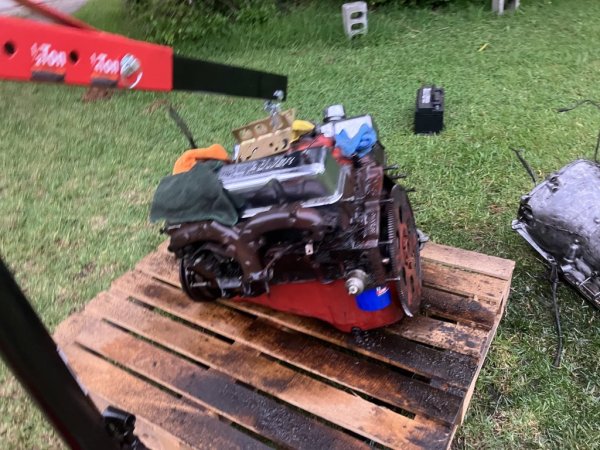
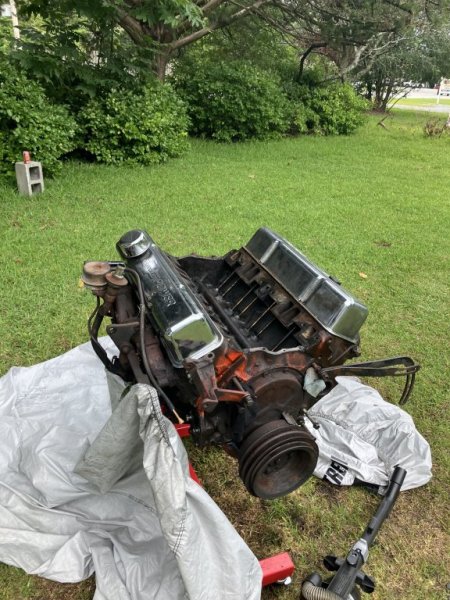
The engine and trans combo specifically being a bone stock Gen1 350 SBC and a TH400, out of a running driving car, needed some general TLC and cleanup with the only "issue" being an oil leak from the valve covers that being said i had the intention to do a complete refresh of the engine regardless
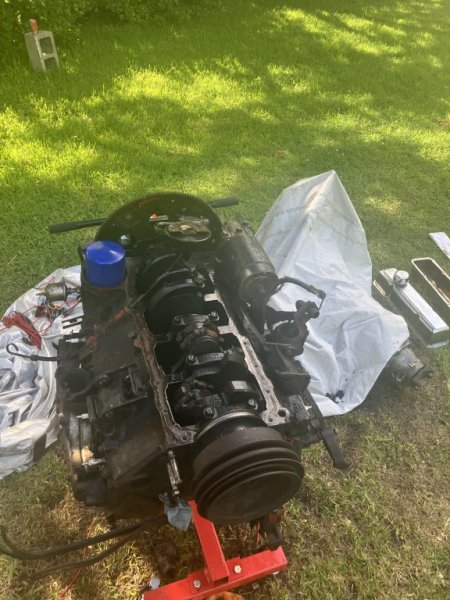
I started by separating the engine and trans and mounting it on the stand

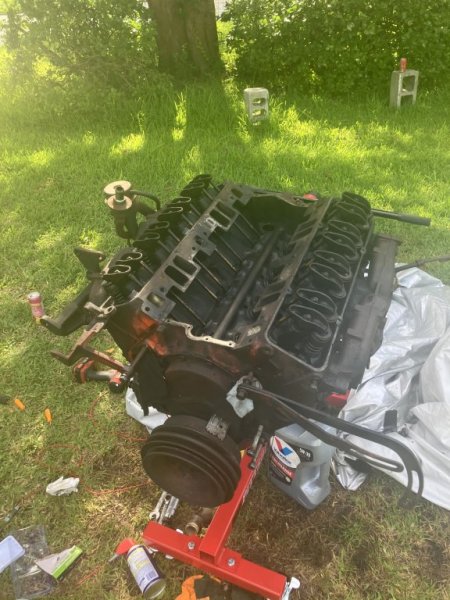
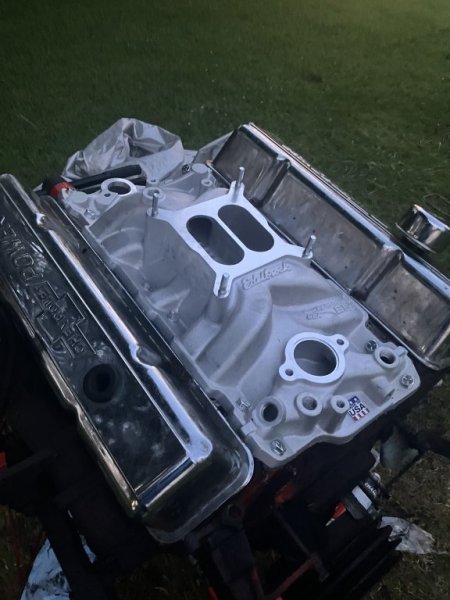
I started by removing the intake manifold to get an opportunity to clean the block, replace the intake manifold gasket and replace with a new Edelbrock performer manifold (regardless on opinions of better or worse intake and carb brands or setups the most important part to me is its what every local parts store has in stock


Absolute ton of carbon build up but after a bit of careful cleaning vacuuming etc. managed to get it sorted (unfortunately don't have an after photo)
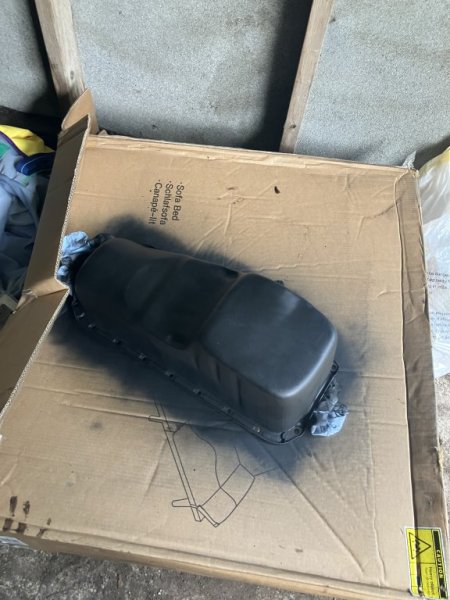
proceeded to remove the oil pan in order to replace the oil pump as well as the oil pan gasket

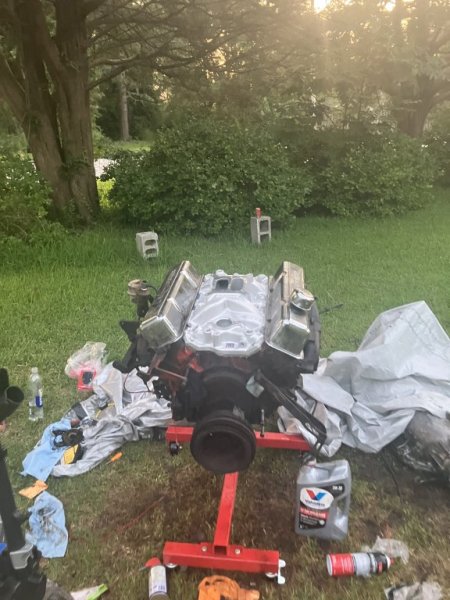
went ahead and reattached the new intake manifold as well as the valve covers with new gaskets and some sealer on the edges of the manifold

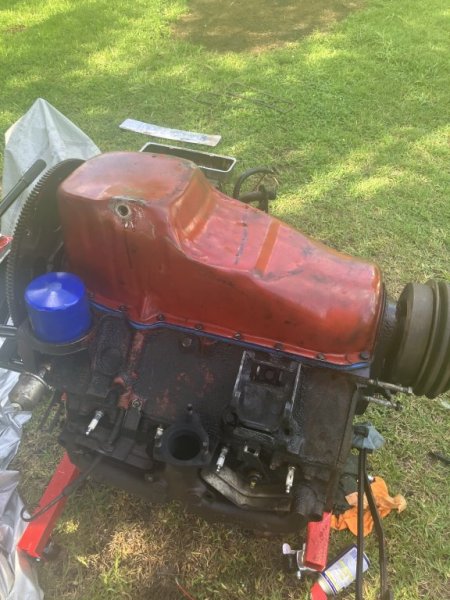
quick respray of the oil pan and reinstall on the block with high temp satin engine enamel and reinstalled with a new gasket

skipped a few steps in the photos but used some brushes, and wire wheels with engine degreaser to clean up the block and used satin engine enamel for a solid respray

the old distributor had definitely seen better days so i replaced it with a new HEI style distributor with new wires and plugs

with everything now connected i connected my Edelbrock inline fuel pump, electric choke and distributor ignition to my small starter switch panel and was able to run it on the engine stand, motor ran very well and sounded healthy, also used this with a timing light on the balancer to set the timing with the distributor

Now that i know i have a known good engine ready to throw into the chassis it was time for phase 2, removal of the m44 and Getrag trans from the z3

With the engine and trans out of the car i took the opportunity to install my steering shaft from Sikky, this shaft is designed for an LS swap for more clearance but works exactly the same for my application

after doing this i heavily cleaned the bay and chassis with wire brushes, wire wheels and engine degreaser

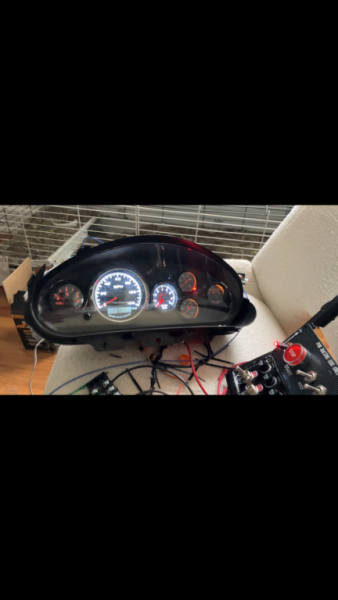
throughout the week i started adapting the wiring to the stock interior of the car, i cut apart the center console leaving room for the radio and cut the back of the stock gauge cluster, fabricated a small metal plate to hold the gauges for the swap, painted it and adhered it to the setup leaving a semi stock look, keep in mind the upper switch panel was what was already wired to the engine on the stand, (please note there are some variations in later photos since then)

with a few of the little things done i was fortunate to have a few friends interested enough in the project to lend me some of their time,
I started by attaching the shifter linkage, and cable from my B&M Cable shifter to the th400, immediately after we took the engine off of its stand and muscled the transmission onto the engine preparing it for install


we proceeded to get it raised with the trans pointing in towards the tunnel and pushed the car into position

we lowered the engine and trans and pushed the car forward and repeated until it was in the car around where we wanted


lifted the trans with the jack to get the engine into position and to get it where it needed to be while i fabricated mounts for both

Cut the engine mounts to shape

 '
'
welded them in and got it all properly mounted


got the interior wired up with the engine, attached the carburetor, entire engine is wired to the switch panel as well, was able to jump the fuse box to the battery panel allowing full control over the windows, seats, lights turn signals, radio, essentially every stock non engine or trans system in the car while being able to start and control the motor

began install on the B&M shifter and connected it to the trans, only thing left for that is to fabricate a small plastic plate to fill the gap between it and the console

well folks as of 08/05/2025 almost a month after the acquisition of the drivetrain and start of the project here we are

I took a small vacation from work with my accrued leave days this upcoming week to finish up a few tasks to get it roadworthy
primary of which and will all be updated as i go along on these threads
Volvo power steering pump install, cooling system install, run fuel lines from the fuel pump to the carburetor, custom driveshaft install (small note on the driveshaft I'm running a stealth swaps differential adapter to a 1310 driveshaft as well as a 1310 slip yolk on the th400 so it will be a very simple and common shaft just a specific length 1310 to 1310) as well as undeniably one of the most important, subframe reinforcement so i don't rip my rear end in half, that being said I'm not necessarily doing a copy of the Randy Forbes on how he reinforced his setup it will have plenty of similarities but i intend to run 1 inch bar from where the diff mounts up the trunk and tie it into the sides of the trunk for rigidity
The engine and trans combo specifically being a bone stock Gen1 350 SBC and a TH400, out of a running driving car, needed some general TLC and cleanup with the only "issue" being an oil leak from the valve covers that being said i had the intention to do a complete refresh of the engine regardless
I started by separating the engine and trans and mounting it on the stand
I started by removing the intake manifold to get an opportunity to clean the block, replace the intake manifold gasket and replace with a new Edelbrock performer manifold (regardless on opinions of better or worse intake and carb brands or setups the most important part to me is its what every local parts store has in stock
Absolute ton of carbon build up but after a bit of careful cleaning vacuuming etc. managed to get it sorted (unfortunately don't have an after photo)
proceeded to remove the oil pan in order to replace the oil pump as well as the oil pan gasket
went ahead and reattached the new intake manifold as well as the valve covers with new gaskets and some sealer on the edges of the manifold
quick respray of the oil pan and reinstall on the block with high temp satin engine enamel and reinstalled with a new gasket
skipped a few steps in the photos but used some brushes, and wire wheels with engine degreaser to clean up the block and used satin engine enamel for a solid respray
the old distributor had definitely seen better days so i replaced it with a new HEI style distributor with new wires and plugs
with everything now connected i connected my Edelbrock inline fuel pump, electric choke and distributor ignition to my small starter switch panel and was able to run it on the engine stand, motor ran very well and sounded healthy, also used this with a timing light on the balancer to set the timing with the distributor
Now that i know i have a known good engine ready to throw into the chassis it was time for phase 2, removal of the m44 and Getrag trans from the z3
With the engine and trans out of the car i took the opportunity to install my steering shaft from Sikky, this shaft is designed for an LS swap for more clearance but works exactly the same for my application
after doing this i heavily cleaned the bay and chassis with wire brushes, wire wheels and engine degreaser
throughout the week i started adapting the wiring to the stock interior of the car, i cut apart the center console leaving room for the radio and cut the back of the stock gauge cluster, fabricated a small metal plate to hold the gauges for the swap, painted it and adhered it to the setup leaving a semi stock look, keep in mind the upper switch panel was what was already wired to the engine on the stand, (please note there are some variations in later photos since then)
with a few of the little things done i was fortunate to have a few friends interested enough in the project to lend me some of their time,
I started by attaching the shifter linkage, and cable from my B&M Cable shifter to the th400, immediately after we took the engine off of its stand and muscled the transmission onto the engine preparing it for install
we proceeded to get it raised with the trans pointing in towards the tunnel and pushed the car into position
we lowered the engine and trans and pushed the car forward and repeated until it was in the car around where we wanted
lifted the trans with the jack to get the engine into position and to get it where it needed to be while i fabricated mounts for both
Cut the engine mounts to shape
welded them in and got it all properly mounted
got the interior wired up with the engine, attached the carburetor, entire engine is wired to the switch panel as well, was able to jump the fuse box to the battery panel allowing full control over the windows, seats, lights turn signals, radio, essentially every stock non engine or trans system in the car while being able to start and control the motor
began install on the B&M shifter and connected it to the trans, only thing left for that is to fabricate a small plastic plate to fill the gap between it and the console
well folks as of 08/05/2025 almost a month after the acquisition of the drivetrain and start of the project here we are
I took a small vacation from work with my accrued leave days this upcoming week to finish up a few tasks to get it roadworthy
primary of which and will all be updated as i go along on these threads
Volvo power steering pump install, cooling system install, run fuel lines from the fuel pump to the carburetor, custom driveshaft install (small note on the driveshaft I'm running a stealth swaps differential adapter to a 1310 driveshaft as well as a 1310 slip yolk on the th400 so it will be a very simple and common shaft just a specific length 1310 to 1310) as well as undeniably one of the most important, subframe reinforcement so i don't rip my rear end in half, that being said I'm not necessarily doing a copy of the Randy Forbes on how he reinforced his setup it will have plenty of similarities but i intend to run 1 inch bar from where the diff mounts up the trunk and tie it into the sides of the trunk for rigidity
Attachments
-
 213.4 KB Views: 6
 -
 158 KB Views: 6
 -
 129.2 KB Views: 7
 -
 116.7 KB Views: 7
 -
 130.4 KB Views: 7
 -
 110.6 KB Views: 8
 -
 82.3 KB Views: 8
 -
 94.9 KB Views: 9
 -
 191 KB Views: 10
 WoW. Thats some work. Impressive.
